Ready, Set, Race: The Ultimate Guide to Prepping Your Motocross Bike for Your First Race
Share
Motocross isn’t just a sport; it’s a way of life. The adrenaline, the roaring engines, and the thrill of catching airtime are enough to make anyone fall in love with the track. But before you pin the throttle and hit that first gate, there’s one critical thing you need to do—prepare your motocross bike. Trust us, showing up unprepared is like entering a cooking show with a microwave dinner—it’s not going to end well.
In this blog, we’ll walk you through the step-by-step process of getting your motocross bike race-ready. Whether you’re a first-time racer or just need a refresher, we’ve got you covered.
---
## 1. **Start with the Basics: Clean Your Bike**
*Keywords: motocross bike maintenance, clean motocross bike*
First things first—give your bike some TLC with a thorough cleaning. Dirt and mud from previous rides can hide potential problems like loose bolts or worn-out parts. Plus, who doesn’t love the look of a shiny, ready-to-race bike?
Start by using a pressure washer to blast away mud and grime (stay away from sensitive areas like the air intake and bearings). Then, grab a bucket of soapy water and a sponge to scrub off any stubborn spots. Don’t forget to clean the chain, sprockets, and undercarriage—these areas are often overlooked but are magnets for dirt buildup.
Once your bike is squeaky clean, dry it off with a microfiber towel to prevent rust. A clean bike isn’t just about aesthetics; it’s the foundation for spotting potential issues before they become race-day disasters.
---
## 2. **Inspect Your Tires: Traction is Everything**
*Keywords: motocross tire pressure, motocross tire grip*
Your tires are the unsung heroes of your motocross bike. They’re the only thing keeping you connected to the track, so they better be in top-notch condition.
Start by checking the tire pressure. Too low, and you’ll risk poor handling; too high, and you’ll lose grip. For most motocross tracks, a good starting point is around 12-14 psi, but always check the manufacturer’s recommendations.
Next, inspect your tire tread. Worn-out tires are like trying to run a marathon in flip-flops—not ideal. If the tread looks questionable, invest in a new set of tires. It’s better to be safe than sorry, especially when you’re hitting jumps and corners at full throttle.
---
## 3. **Tighten Up: Check Your Bolts**
*Keywords: motocross bolt check, loose bolts motocross bike*
Imagine hitting a jump mid-race and your handlebars decide they’re no longer interested in being attached to the bike. Scary, right? That’s why checking all the bolts on your bike is non-negotiable.
Grab a torque wrench and systematically go through your bike. Pay special attention to critical areas like the handlebars, footpegs, chain adjusters, and suspension bolts. Even if something feels tight, give it a quick check—you’d be surprised how much vibration can loosen things up.
Remember, over-tightening can be just as bad as loose bolts. Follow the manufacturer’s torque specifications to avoid stripping threads or damaging components.
---
## 4. **Fuel Up Like a Pro**
*Keywords: motocross fuel mix, motocross race fuel*
Fuel isn’t just fuel—it’s the lifeblood of your bike. For your first race, make sure you’re using the right type of gas and, if needed, the correct oil-to-gas ratio for your two-stroke engine.
Start by draining any old fuel from the tank. Stale gas can lead to poor performance or, worse, engine damage. Refill with fresh, high-octane fuel that’s recommended for your bike. If you’re unsure, consult your bike’s manual or ask a seasoned racer for advice.
Pro tip: Bring extra fuel to the race. You don’t want to run out mid-day because you underestimated how many laps you’d be doing.
---
## 5. **Brakes: Stop Before You Go**
*Keywords: motocross brake inspection, motocross brake pads*
Speed is fun, but stopping when you need to is even better. A quick brake check can save you from an embarrassing (or dangerous) wipeout.
Start by inspecting your brake pads. If they’re worn down to the metal backing, replace them immediately. Next, check the brake fluid levels and top off if necessary. Use fresh fluid if it looks discolored or murky.
Finally, give your brake levers a squeeze to ensure they feel firm and responsive. Spongy brakes are a red flag that air might be trapped in the system, which means it’s time to bleed the brakes.
---
## 6. **Chain and Sprockets: The Power Duo**
*Keywords: motocross chain tension, motocross sprocket wear*
Your chain and sprockets work together like peanut butter and jelly to transfer power from your engine to the rear wheel. Neglect them, and you’re asking for trouble.
Start by checking the chain tension. A loose chain can jump off the sprockets, while a tight chain can put unnecessary strain on the drivetrain. Aim for about 1-2 inches of slack when the bike is on a stand.
Next, inspect your sprockets for signs of wear. Sharp or hooked teeth mean it’s time for a replacement. If your sprockets look good, give the chain a good cleaning and lube it up with a high-quality chain lubricant.
---
## 7. **Suspension Setup: Dial It In**
*Keywords: motocross suspension tuning, motocross suspension sag*
Your suspension is the key to handling bumps, jumps, and corners like a pro. If it’s not set up correctly, you’re in for a rough ride.
Start by setting the sag, which is the amount your bike compresses under your weight. This involves adjusting the rear shock preload to match your body weight and riding style. Most bikes have a recommended sag range, typically around 30-35% of the total suspension travel.
Next, test the rebound and compression settings. These control how quickly the suspension compresses and rebounds after hitting obstacles. If you’re unsure, stick with the factory settings as a baseline and adjust from there.
---
## 8. **Test Ride and Fine-Tune**
*Keywords: motocross test ride, motocross bike adjustments*
Once you’ve checked off everything on your prep list, it’s time for a test ride. Take your bike for a quick spin to ensure everything feels right.
Pay attention to how the bike handles, brakes, and accelerates. Listen for any unusual noises or vibrations that could indicate a problem. If something feels off, don’t ignore it—address it before race day.
Use this test ride to make any final adjustments. Sometimes, even small tweaks like adjusting the clutch lever or handlebars can make a big difference in comfort and control.
---
## 9. **Pack Your Race Day Essentials**
*Keywords: motocross race gear, motocross toolkit*
Preparation doesn’t end with your bike. Packing the right gear and tools can make or break your race day experience.
Make a checklist of essentials: helmet, goggles, gloves, boots, and protective gear. Don’t forget a toolkit with basic items like wrenches, screwdrivers, and spare parts. Oh, and bring plenty of water and snacks—you’ll need the energy to stay focused and competitive.
Arriving at the track well-prepared will help you feel confident and ready to tackle your first race like a seasoned pro.
---
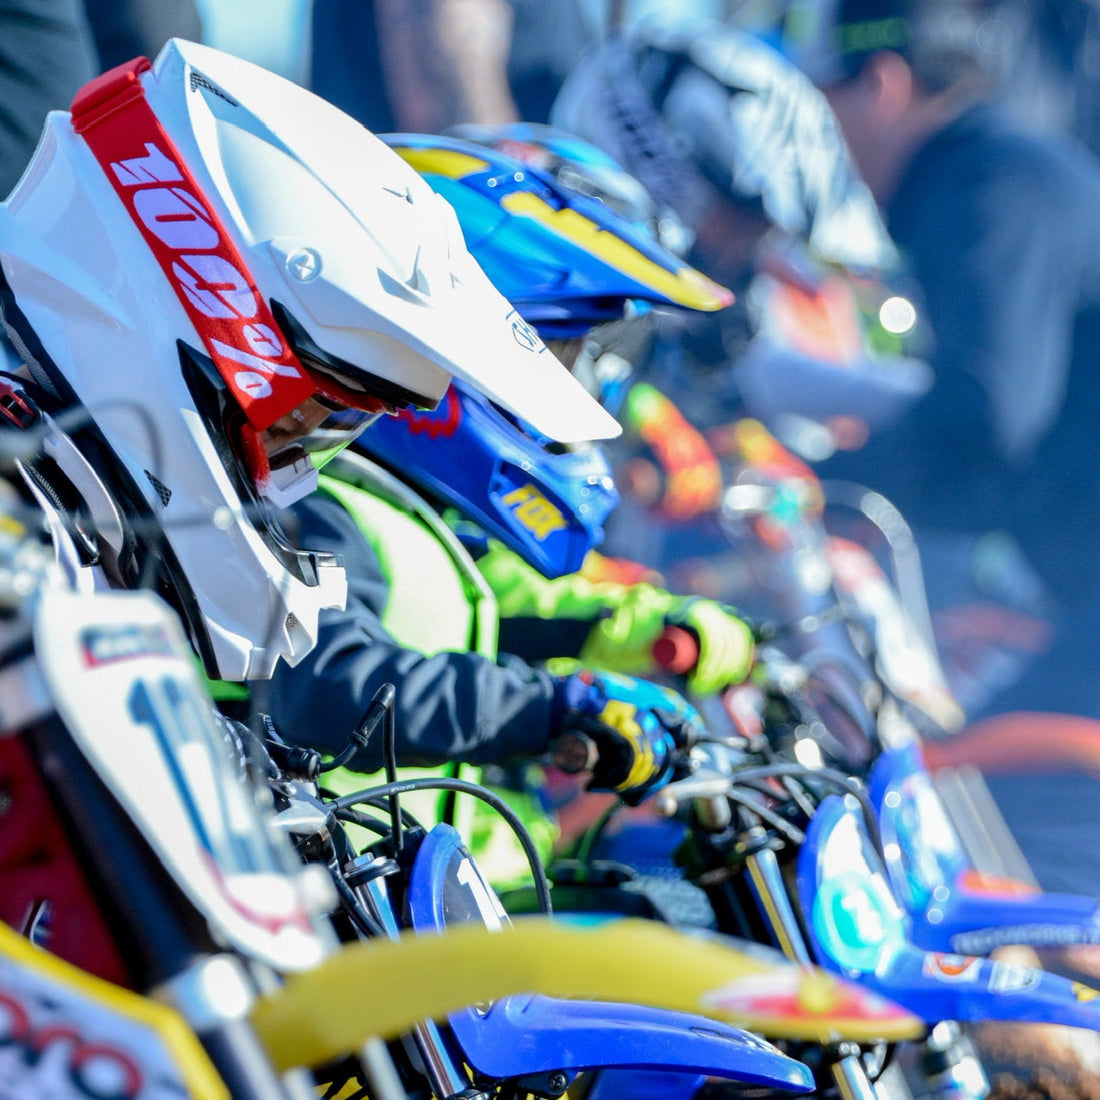
## 10. **Race with Confidence**
*Keywords: motocross racing tips, motocross first race*
With your bike prepped and your gear packed, it’s time to hit the track. Remember, your first race isn’t about winning—it’s about learning, having fun, and soaking in the experience.
Take a few deep breaths at the starting gate and focus on the basics: smooth throttle control, good body positioning, and consistent braking. And most importantly, don’t forget to smile! Racing is supposed to be fun, after all.
Win or lose, your first motocross race is a milestone you’ll never forget. So go out there, give it your all, and enjoy the ride.
---
By following this guide, you’re not just preparing your bike for your first motocross race—you’re setting yourself up for a day of thrills, spills, and unforgettable memories. See you at the track!